Showing posts with label Lunch. Show all posts

Friday, May 20, 2011

Pan-frying Frozen Pot Stickers

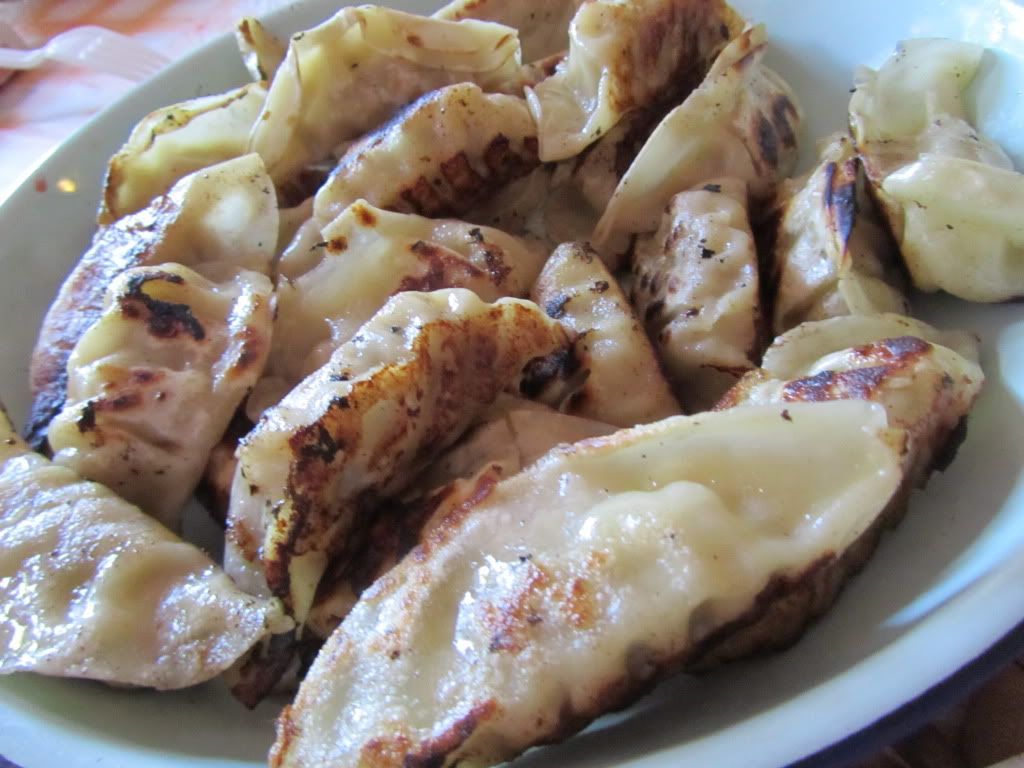
Now, I can't really say that I "cooked" these, so I didn't give it its own number. However, I felt like it is one my significant milestones in the kitchen. Somehow, I never managed to successfully pan-fry frozen pot stickers, but after going through a bag full of pot stickers cooked in three batches, I feel like I've almost... come close to my mom's skills.... I'm sad to say that this is probably my first failure. I mean, seriously, it is hard... for me. I burned about half of the first batch, slightly burned some of the second, and almost burned some of the third. After I go through the proper way to pan fry frozen pot stickers, I will list some of my mistakes.

How to Pan Fry Frozen Pot Stickers
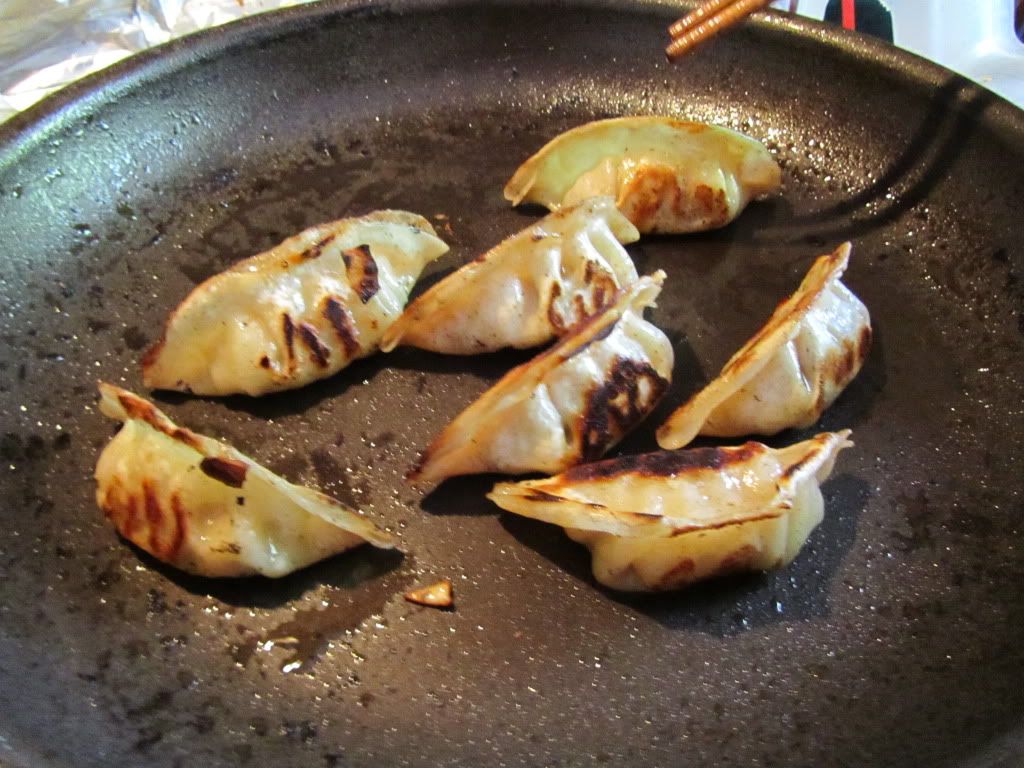
burning... :(

  1. Heat the pan at high and pour a generous amount of oil in the pan.
  2. Place the pot sticker in the pans. I put them all in with their bottoms down to make everything unanimous.
  3. OPTIONAL: If the pot stickers are still too frozen/not thawed, pour some hot water in the pan and put the lid on. Wait until the water is gone before you finish pan frying the pot stickers.
  4. Add a little bit of oil. Put the stove on low-medium heat and fry until the pot stickers are nice and crispy. I tried to fry each side, but my mom said that this wasn't necessary. One side is fine.
  5. Serve w/ sauce. I use a combination of red vinegar, soy sauce and garlic chili pepper sauce.


Now, onto my mistakes...

  1. I kept on forgetting to turn down the fire when I was pan frying. Note: If left on the high heat, they will burn VERY quickly.
  2. I didn't wipe the pan after the first batch was burned, so the subsequent batches all had little black burnt remains on them.
  3. I didn't add oil after the water was gone. This was also a small factor in the burning.
Hopefully, the next time I pan-fry pot stickers, they will turn out beautifully. I love pot stickers and it's so hard to resist the variety of pot stickers at the Asian supermarkets. They're really cheap and can last a couple of meals, so I may just stock up on some when school starts up again. Of course, I may just look for an actually pot sticker recipe, but before that, I will stick to the frozen sort. Either way, I love pot stickers and totally recommend them to everyone. Happy frying!

<3 Joanna Mei

Tuesday, May 17, 2011

#2 Grilled Cheese Egg-in-Hole

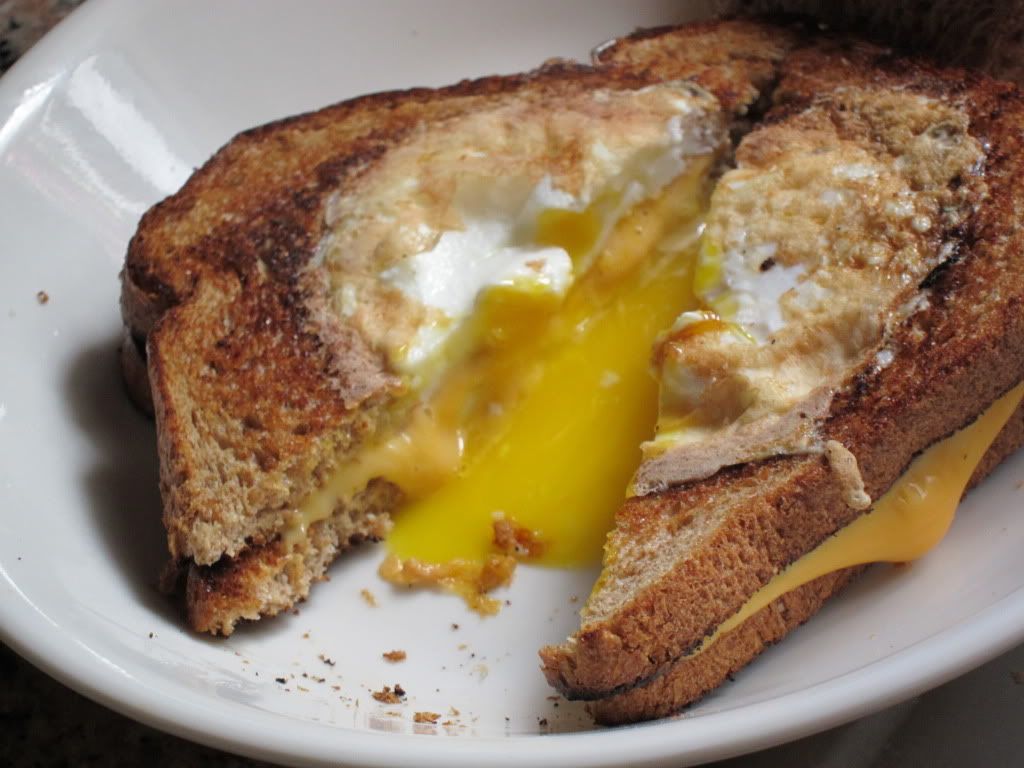
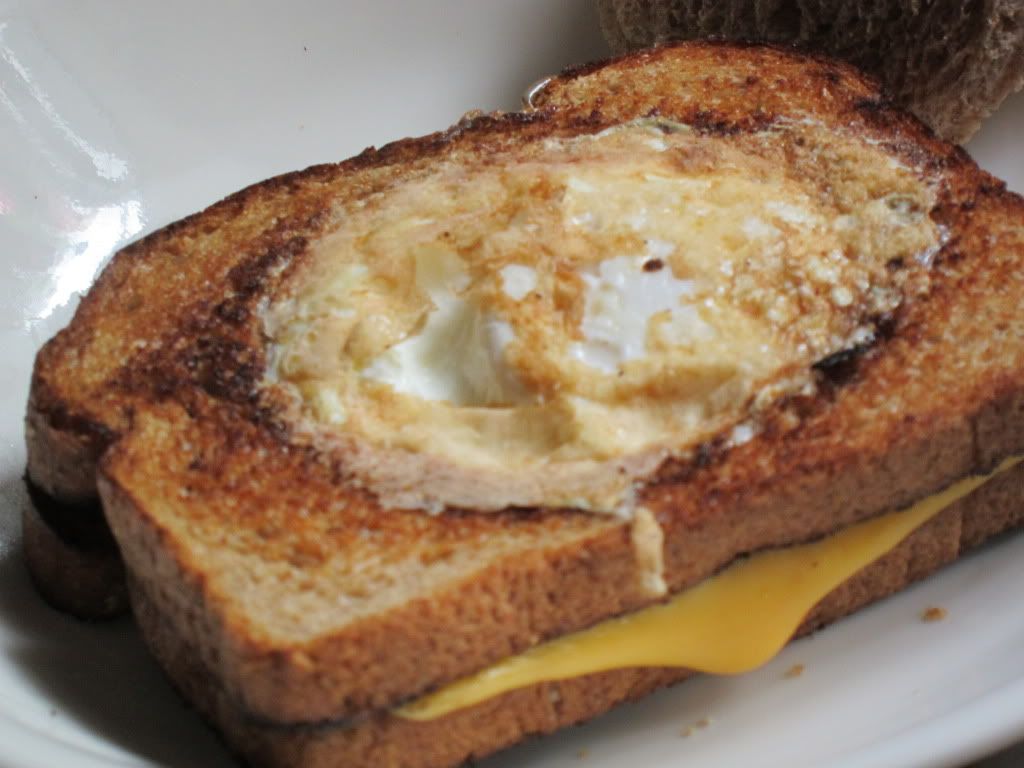
a work of art.
 When I saw Serious Eats' post about their "Grilled Cheese Eggsplosion" a couple of months ago, that recipe went immediately onto my to-cook list! Sadly, it was a bit hard to gather the ingredients in an economical way while I was in the dorms, so I waited patiently for the right time. Since the end of classes, I've moved out of my dorm and into my apartment! Of course, I definitely had to go back home and stay with my family, so I used this opportunity to make this amazing dish!

I love eggs. I mean, I seriously love eggs. I even go so far as to say that it's my favorite food. So, seeing an egg embedded in a piece of toast with a lovely piece of cheese wedged in between was like seeing heaven come on earth. Such a yummy piece of goodness should've been taken away during the rapture. ;)

Grilled Cheese Egg-in-Hole

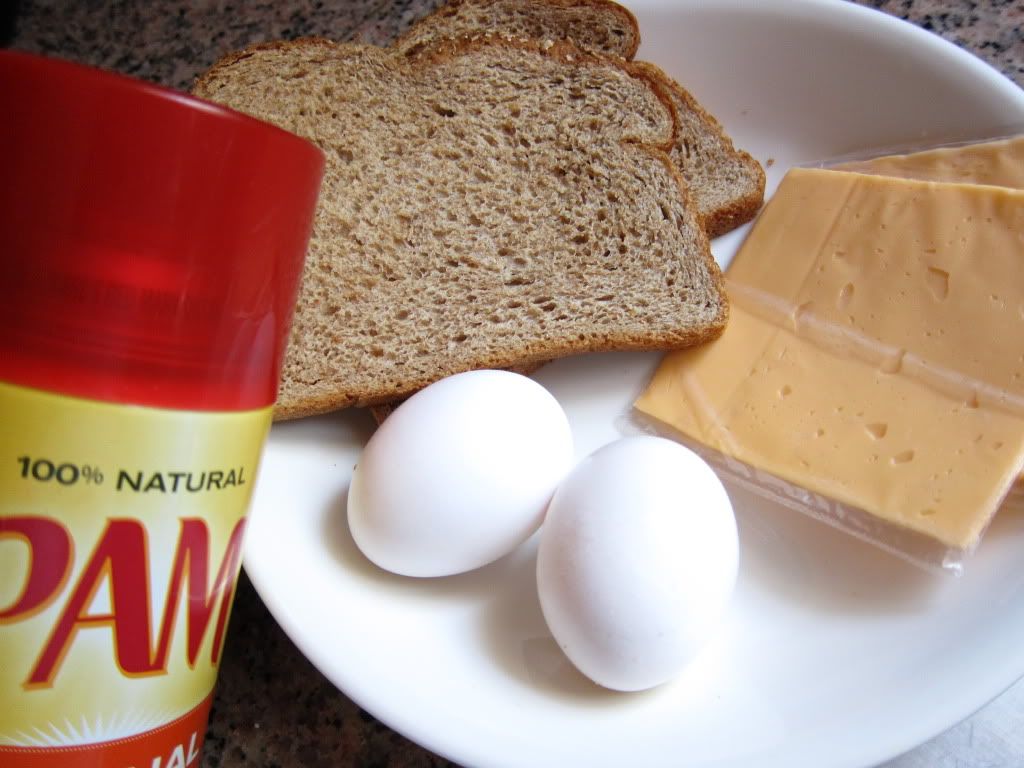
Ingredients (1 serving)
- 2 slices of bread
- 2 eggs
- 1 or 2 slices of cheese (I used 2 slices of American cheese, but choose whatever you want!)
- Pam (the recipe called for butter but I didn't have any butter)
- a pinch of salt

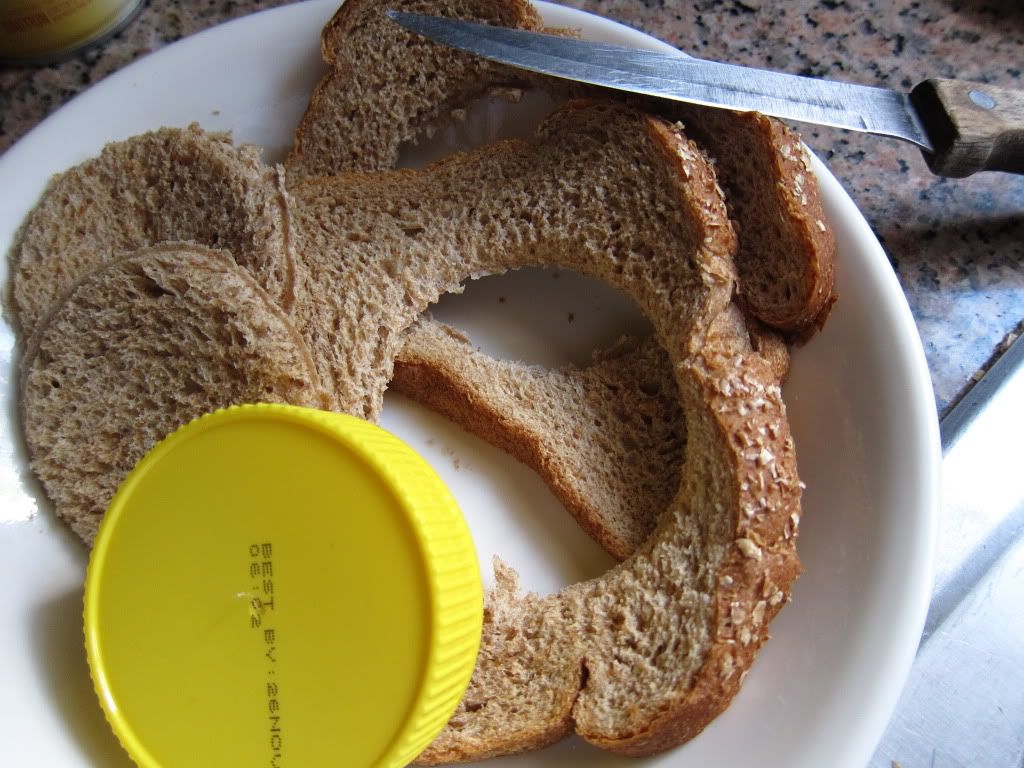
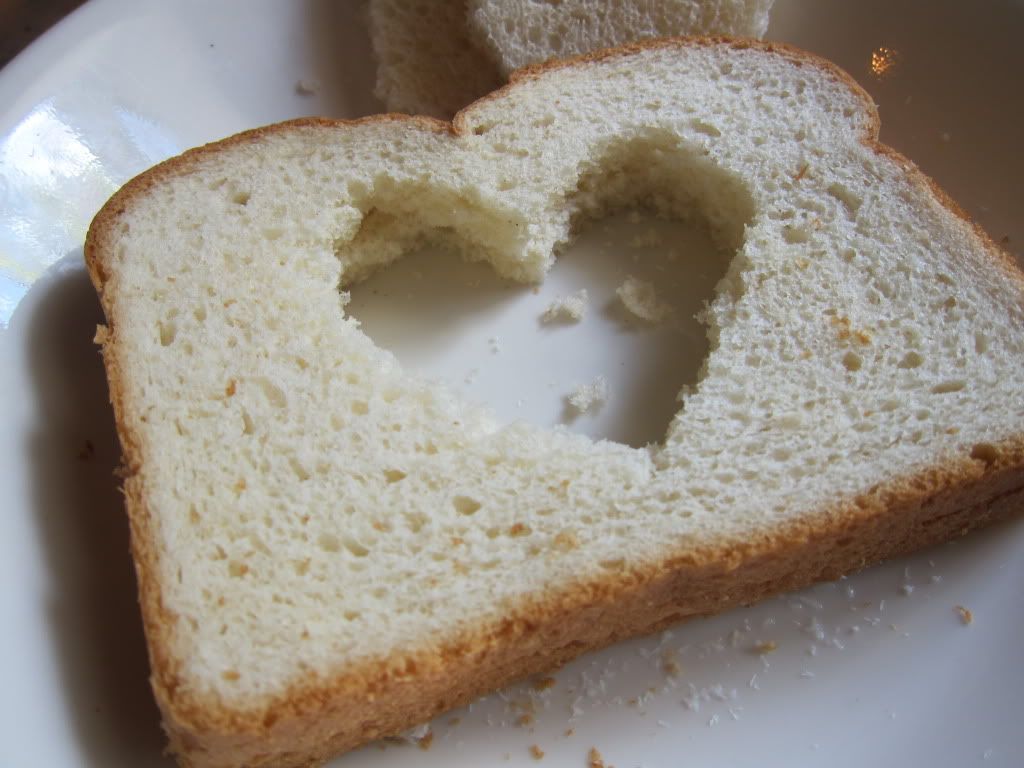
1) Cut holes out of the bread. I used the lid of a peanut butter jar to get the perfect circles, but my sister cut out hearts with a knife and they were so cute! <3
2) Put the stove on high heat and spray some Pam (or butter or oil)
3) Place the bread on the pan and toast until slightly brown.
4) Flip the bread and crack your eggs into the hole.
5) Change to medium heat and add the salt.
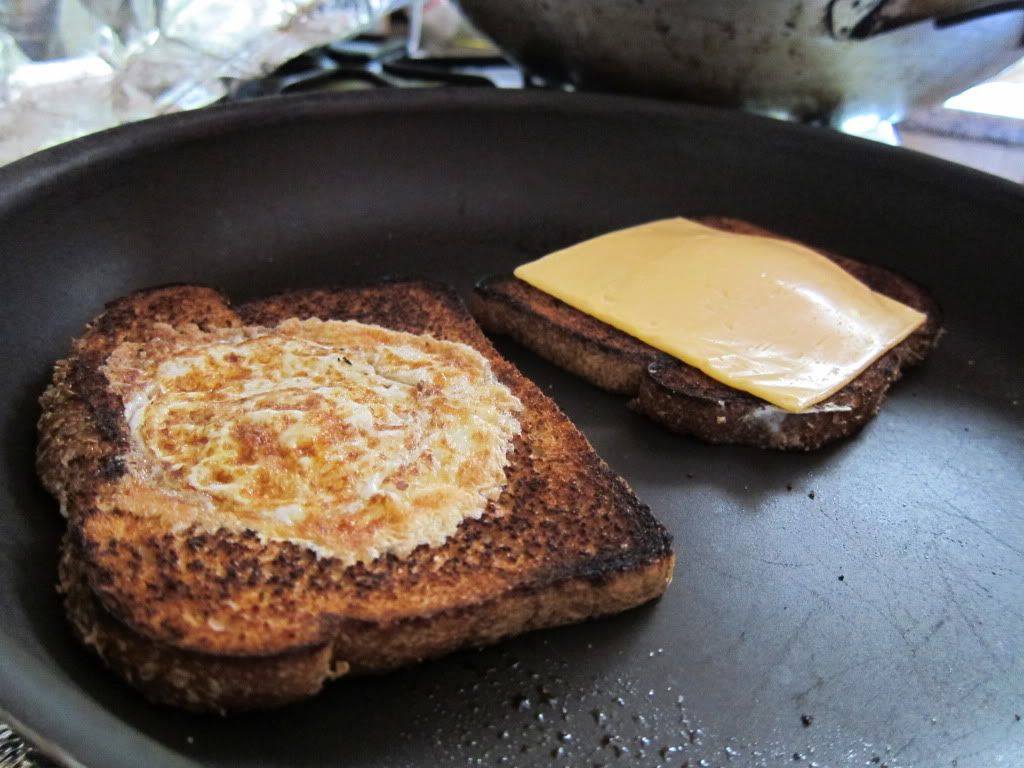
6) Flip the bread and fry the other side. Place the slice of cheese on top of one slice of bread. Once the other slice is cooked, place that slice on top of the cheese.
slightly burnt :(
7) Leave at low heat until the cheese is sufficiently melted and you're done!

the finished product <333
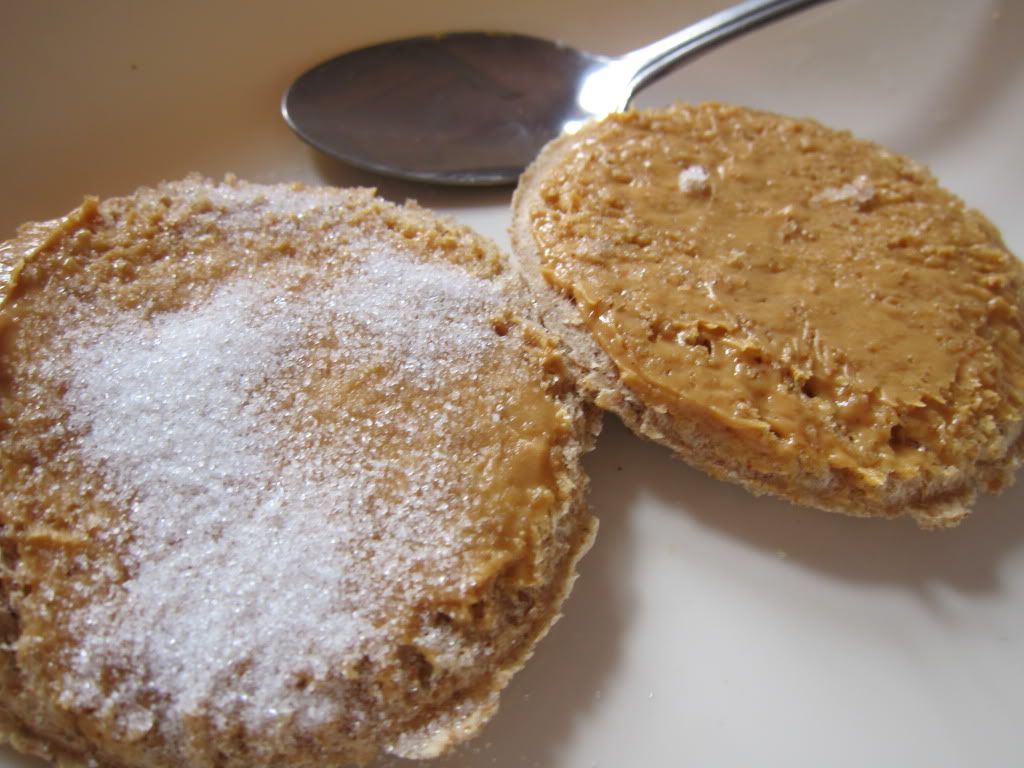
I love the brilliance of this combination and how everything is kept really compact. I used the leftover bread to make a miniature peanut butter and sugar sandwich (ran out of jam). I will definitely keep making this over and over again. It doesn't take too much time and it's compact which is great for a college student. I leave the yolk uncooked, but I might just break it and let it cook, so that it won't be too messy. Either way, awesome dish! Happy egging!

<3 Joanna Mei


credit: Serious Eats

Much love <333